
sekiro best prosthetic tools usually comes down to one thing: you’re dying not because you lack skill, but because you brought the wrong tool (or spent emblems on the wrong moments). Sekiro’s prosthetics can feel inconsistent until you realize most of them are “matchup” answers, not general buffs.
This ranking focuses on what tends to win fights reliably in real play: posture pressure, safe interrupts, crowd control, and tools that stay useful from early game into late bosses. I’ll also point out when an upgrade matters, because some prosthetics feel mediocre until a specific variant.
One quick boundary: “best” changes with your goal. Speedrunners value different things than a first-time player. So each pick includes what it’s best for, emblem cost feel, and the common mistake that makes it look worse than it is.
At-a-glance ranking table (quick picks)
If you only want a shortlist, start here. Then skim the sections for matchup notes and practical loadouts.
| Rank | Prosthetic Tool | Best For | Why It Ranks High | Watch Out For |
|---|---|---|---|---|
| 1 | Firecrackers | Beasts, pressure, tempo resets | Reliable stun window, huge momentum swing | Spamming burns emblems fast |
| 2 | Loaded Umbrella | Survival vs chip/terror-like threats | Turns scary sequences into safe reps | Over-reliance can slow posture wins |
| 3 | Mikiri-friendly utility (Shuriken) | Interrupts, gap-close control | Fast, flexible, low-risk | Doesn’t replace learning deflect timing |
| 4 | Flame Vent | Burn status, red-eye enemies, beasts | Damage + posture via panic windows | Needs good timing to avoid trades |
| 5 | Sabimaru | Poisonable humanoids | Some fights swing hard in your favor | Dead weight on many bosses |
| 6 | Spear | Armor stripping, certain big targets | High payoff in the right matchup | Whiffing feels awful, punishable |
| 7 | Axe | Shield enemies, burst posture | Simple answer to annoying defense | Slow start-up invites hits |
| 8 | Mist Raven | Escapes, style plays, specific punishes | High skill ceiling, saves runs | Easy to waste emblems with panic use |
How this ranking was decided (so you can adjust it)
When people argue about sekiro best prosthetic tools, they’re usually mixing different criteria. This list leans toward tools that stay valuable across multiple chapters and bosses, not just one “gotcha” enemy.
- Consistency: works even when you’re nervous and not playing perfectly.
- Emblem efficiency: a tool that wins you a phase is better than one that looks flashy.
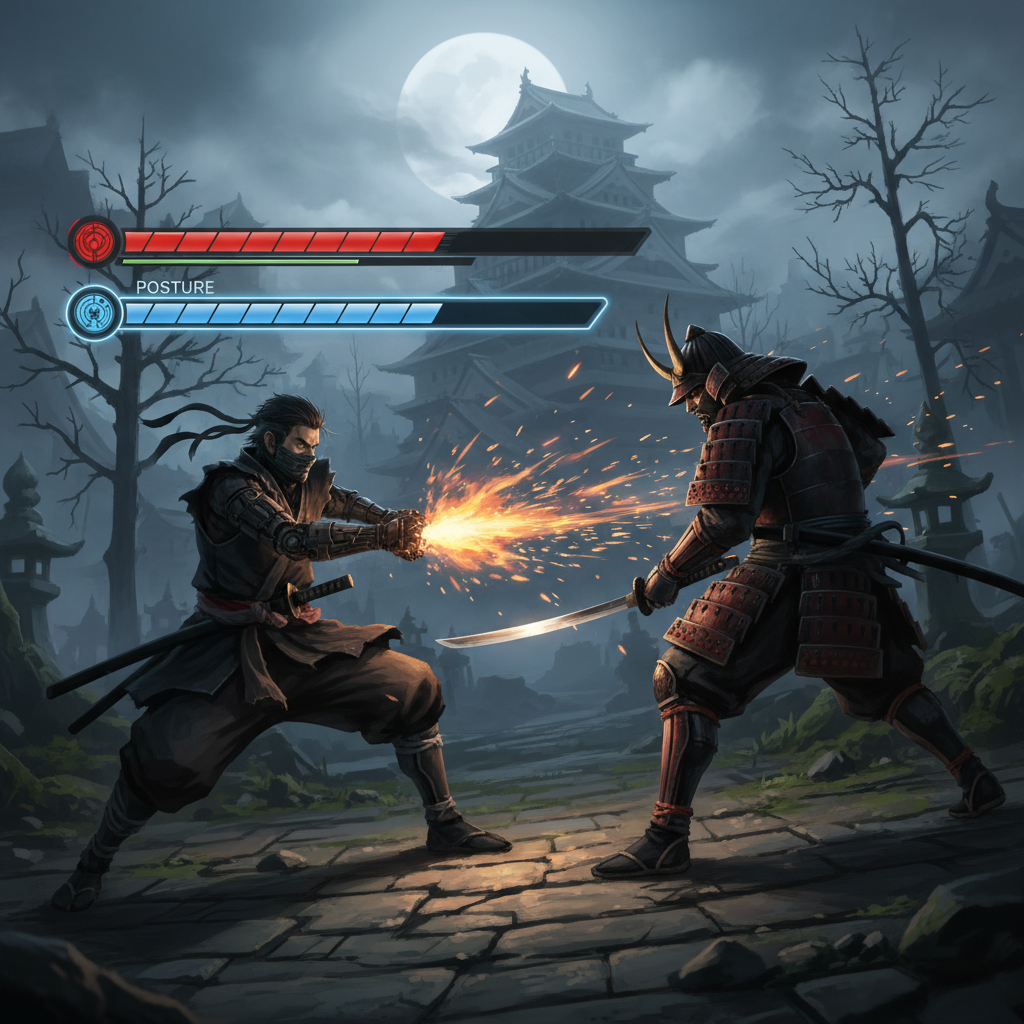
- Synergy with core combat: deflecting and posture play still do the heavy lifting.
- Matchup coverage: how many enemy types it answers without feeling forced.
According to FromSoftware’s own in-game tutorial prompts and item descriptions, prosthetics are designed as tactical options tied to enemy behavior patterns, so you’ll get the most value by swapping tools intentionally rather than “maining” one forever.
Top-tier picks: what to equip most of the time
1) Firecrackers (Shinobi Firecracker line)
If you want one tool that “just works” in a lot of situations, Firecrackers are the safe bet. They buy you a clean opening when a target is aggressive, and they can stabilize fights where your rhythm keeps breaking.
- Best use cases: beasts, enemies that hate sudden noise, moments you need a heal window without fully disengaging.
- What to do after: don’t back up, step in and take posture-friendly hits, or set up a combat art if you’re confident.
- Common mistake: firing on cooldown, then running out of emblems right when the boss enters a scary phase.
2) Loaded Umbrella (and its variants)
Umbrella ranks high because it turns “I have no idea what to do here” into something you can practice safely. It’s not only about blocking, it’s about converting pressure into a controlled response.
- Best use cases: multi-hit strings, chip-heavy sequences, projectiles, and encounters where one mistake snowballs.
- Practical habit: use it to learn timing, then gradually shift back toward deflects so posture damage keeps flowing.
- Common mistake: turtling too long and letting enemy posture recover.
3) Shuriken (Loaded Shuriken line)
Shuriken are the definition of utility. They interrupt certain actions, punish enemies trying to create distance, and help you keep tempo without overcommitting. They’re rarely the “whole plan,” but they patch holes in your plan.
- Best use cases: interrupting light enemies, checking jumps, stopping annoying repositioning, finishing low-health targets safely.
- Combo idea: quick shuriken to force respect, then close distance for posture pressure.
- Common mistake: expecting it to replace learning spacing and deflect timing.
Strong situational tools (they win specific matchups)
4) Flame Vent
Flame Vent shines when burn changes the fight’s psychology: enemies flinch, your windows become clearer, and posture damage becomes easier to stack because panic moments reduce their offense.
- Best use cases: beasts, “red-eye” type threats, fights where you can safely apply burn and then stay glued to the target.
- Timing tip: apply after a confirmed opening, not from neutral, because trading hits usually costs more than the burn helps.
5) Sabimaru
Sabimaru is polarizing because it’s either incredible or it feels like a waste. When poison sticks, it can flip a long duel into a controlled, predictable pace.
- Best use cases: poisonable humanoids, enemies that give you short safe strings to apply status.
- When to skip: if the target shrugs it off, stop forcing it and move on.
6) Spear (Loaded Spear line)
Spear has a higher “execution tax,” but it can be worth it when a fight includes armor or a mechanic that rewards pulling or stripping. In those matchups it feels like you’re cheating, in a good way.
- Best use cases: specific armored enemies, targets where the tool’s special interaction triggers.
- Common mistake: throwing it out raw, then eating a full punish because the start-up is not subtle.
Lower-ranked but still useful (don’t ignore them)
Axe
Axe is the straightforward answer to shield problems and certain posture checks. If a regular enemy annoys you with defense, Axe can be the “stop wasting my time” button, within reason.
- Best use cases: shielded foes, moments where one heavy hit will push a posture break.
- Risk: slower animation, so you need a true opening.
Mist Raven
Mist Raven is more about decision-making than raw power. It can save you from patterns you don’t fully understand yet, and it enables stylish punishes, but it asks you to stay calm under pressure.
- Best use cases: escaping corner pressure, dodging a telegraphed hit while staying in range.
- Risk: panic use drains emblems and teaches bad habits if it replaces learning tells.
Quick self-check: which tool should you bring right now?
If you’re stuck on a boss, don’t scroll forums for a “one true answer” until you do this quick check. Most walls are either an emblem economy problem or a matchup mismatch.
- You die while healing: try Firecrackers or Umbrella to manufacture a safer heal beat.
- You can’t stay close: Shuriken helps stop disengages and keeps pressure consistent.
- You’re fighting a beast or frantic target: Firecrackers and Flame Vent often pay off more than fancy tools.
- Enemy defense annoys you (shields/guard): Axe can shorten the fight, assuming you respect openings.
- You suspect a special interaction (armor/unique mechanic): Spear is worth testing a few attempts.
- You keep getting clipped by one telegraphed move: Umbrella or Mist Raven can give you breathing room while you learn it.
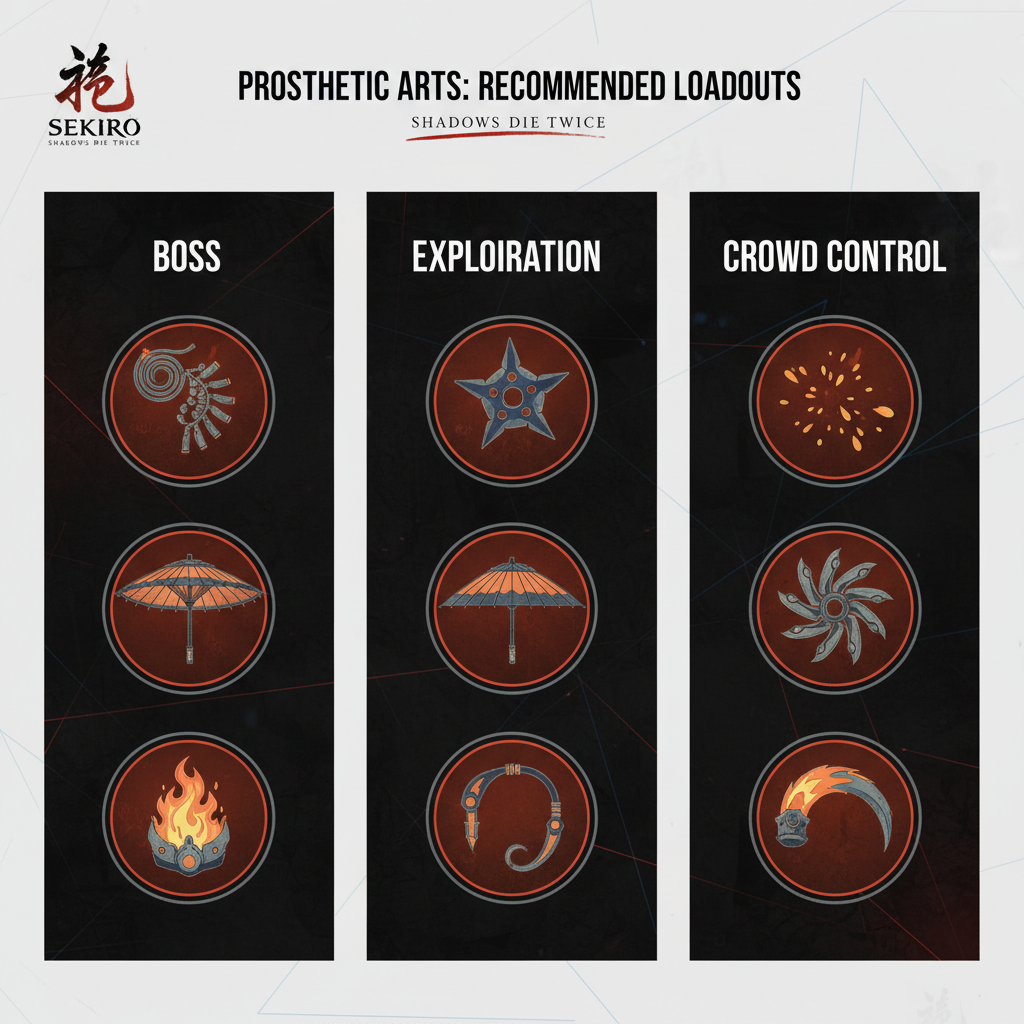
Practical loadouts (3 setups that cover most players)
Loadout A: “I want consistency”
- Firecrackers for tempo and guaranteed openings
- Umbrella for scary sequences you haven’t mastered
- Shuriken for interrupts and anti-disengage
This is the loadout that tends to make the game feel fair. You still need deflects, but you stop bleeding attempts to chaos.
Loadout B: “I want faster kills when it fits”
- Flame Vent to force burn windows
- Firecrackers to secure the application or reset tempo
- Spear or Axe depending on whether the matchup rewards it
Great when you know the boss and want to push phases, but you’ll feel emblem pressure if you cast from neutral.
Loadout C: “I keep panicking”
- Umbrella as your safety net
- Mist Raven for one or two specific attacks you can’t read yet
- Shuriken to keep the fight from drifting
Use this as a training wheels setup, then swap Mist Raven out once you can consistently recognize the problem move.
Common mistakes that make prosthetics feel weak
- Using tools to replace fundamentals: if you’re not deflecting and staying in posture range, most tools only delay the loss.
- Emblem panic spending: many players burn half their emblems in the first 30 seconds, then enter phase two empty.
- Ignoring upgrades that change function: some variants add properties that matter more than raw damage.
- Forcing a status tool: if poison or burn doesn’t stick reliably, stop trying to “make it happen.”
If your goal is to figure out sekiro best prosthetic tools for your run, the honest trick is to treat emblems like a budget: spend them to secure posture advantage, not to “do damage because it’s there.”
When to look up a specific guide (or ask for help)
Sometimes you’re not missing skill, you’re missing one key interaction. If you suspect a boss has a prosthetic “answer,” it’s reasonable to check a focused guide, especially when you keep seeing the same mechanic and don’t understand its counterplay.
- You notice armor, unusual guard behavior, or a repeatable stun opportunity
- You reach phase two consistently but get instantly deleted by one new move
- You’re experimenting but can’t tell whether a status is applying or being resisted
According to PlayStation Support’s general safety guidance for gaming, taking breaks can help with focus and reaction consistency, so if you’re grinding a wall for hours, stepping away may improve results more than changing tools.
Conclusion: the “best” tools are the ones you can spend wisely
The practical answer is that Firecrackers, Umbrella, and Shuriken cover an enormous chunk of what players struggle with, and they stay relevant even when your fundamentals improve. Flame Vent, Sabimaru, Spear, and Axe become “best” when the matchup invites them, not because they’re universally stronger.
Action step: pick one boss you’re stuck on, run 5 attempts where you only spend emblems after a confirmed opening, then adjust your loadout based on what actually killed you. That little discipline tends to make every prosthetic feel better.
FAQ
What are the sekiro best prosthetic tools for beginners?
Firecrackers, Umbrella, and Shuriken are usually the most forgiving. They cover common beginner problems like losing tempo, getting punished while healing, and letting enemies reset spacing.
Do Firecrackers work on every boss?
Not every boss reacts the same way, and some resist or recover quickly. In many fights they still help by creating a brief rhythm break, but you’ll get better value using them for specific moments instead of spamming.
Is the Loaded Umbrella “cheese”?
Most players use it as a learning tool. It can trivialize certain sequences, but it also teaches timing and spacing if you pay attention to what it’s protecting you from.
When is Sabimaru actually worth equipping?
When poison application is consistent and the enemy gives you safe strings to apply it. If you test it and see no meaningful payoff after a few clean attempts, it’s usually smarter to swap out.
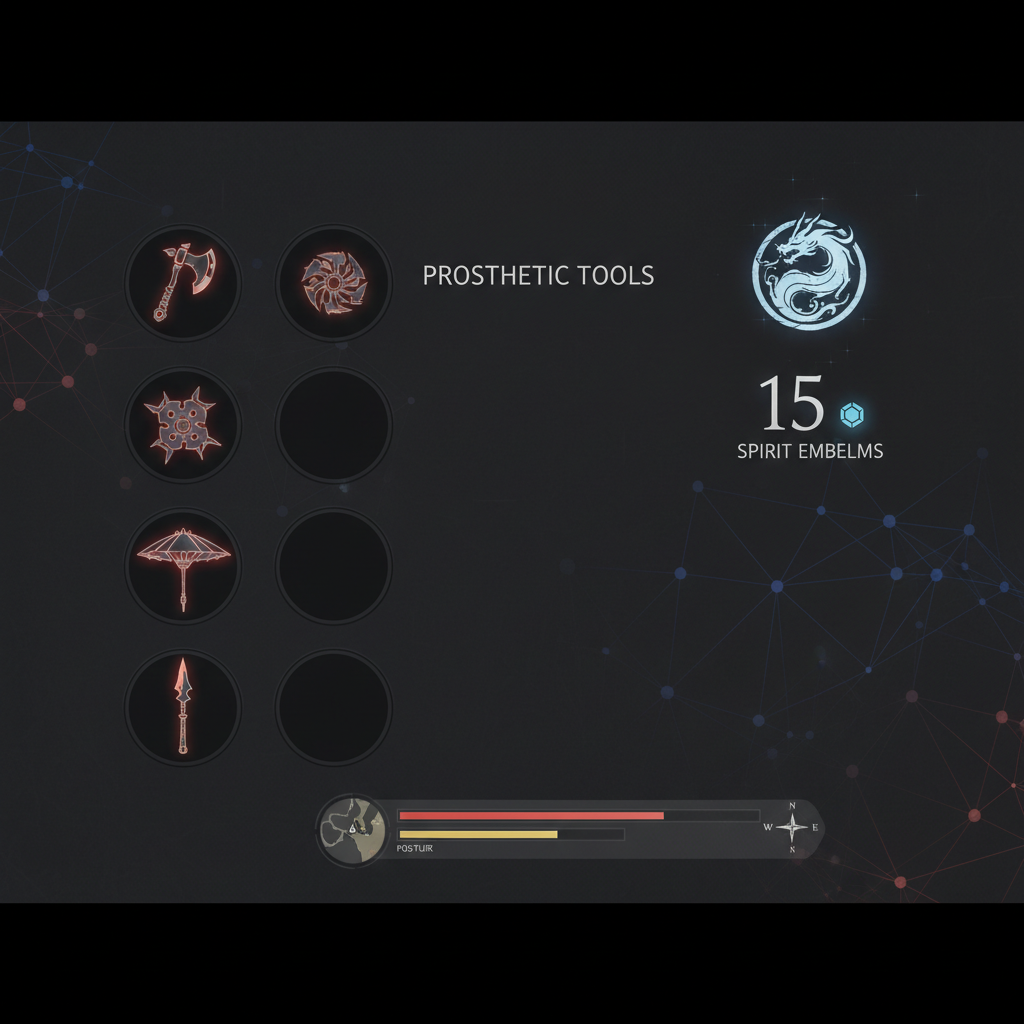
How do I stop running out of Spirit Emblems?
Treat emblems like a phase resource. Plan one “spend window” per phase, usually to secure posture advantage or a heal, and rely on deflects for the rest.
Which prosthetic is best for posture damage?
In practice, the best posture damage still comes from staying close, deflecting, and punishing consistently. Tools like Firecrackers and Axe can help create posture swings, but they’re strongest when paired with solid pressure.
Should I build my whole playstyle around one prosthetic?
It can work, but it often slows improvement. Sekiro rewards swapping tools to match the problem in front of you, so a flexible loadout usually feels better across a full playthrough.
If you’re trying to decide which tool to upgrade next, or you want a quick recommendation for a specific boss you’re stuck on, share your current emblem comfort level and what keeps killing you, it’s often enough to narrow down the most practical prosthetic pick without overcomplicating it.